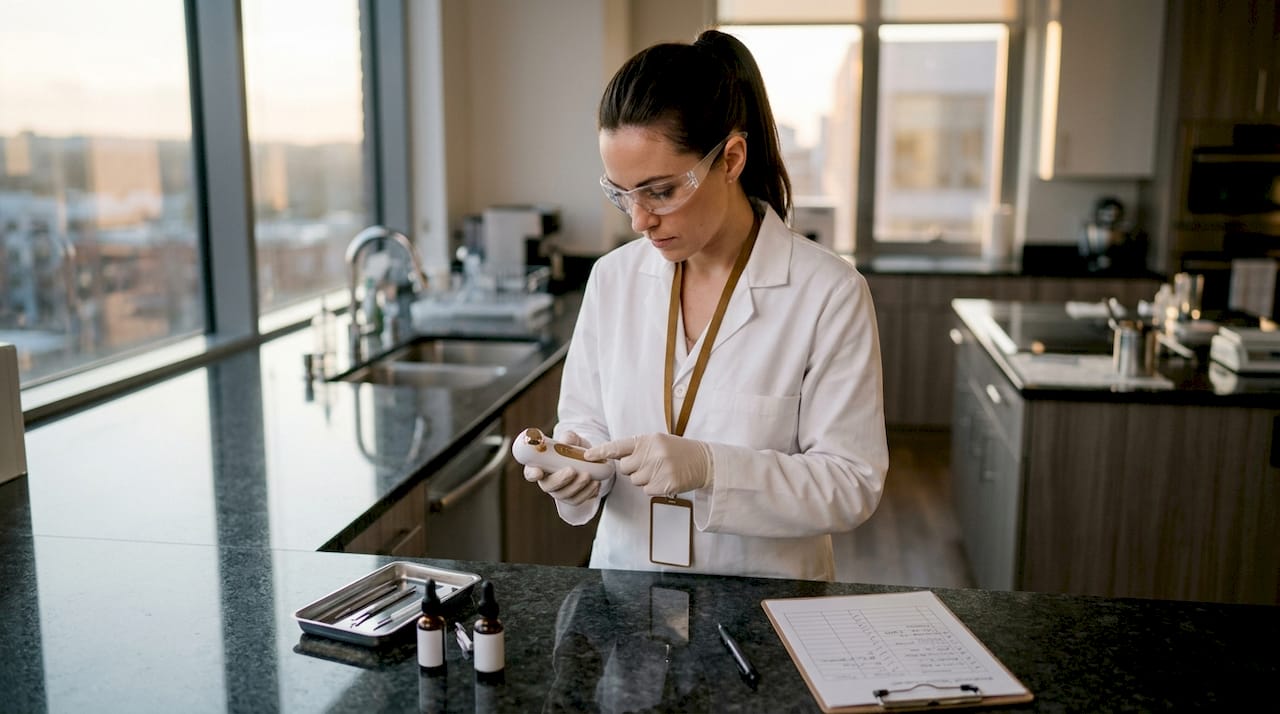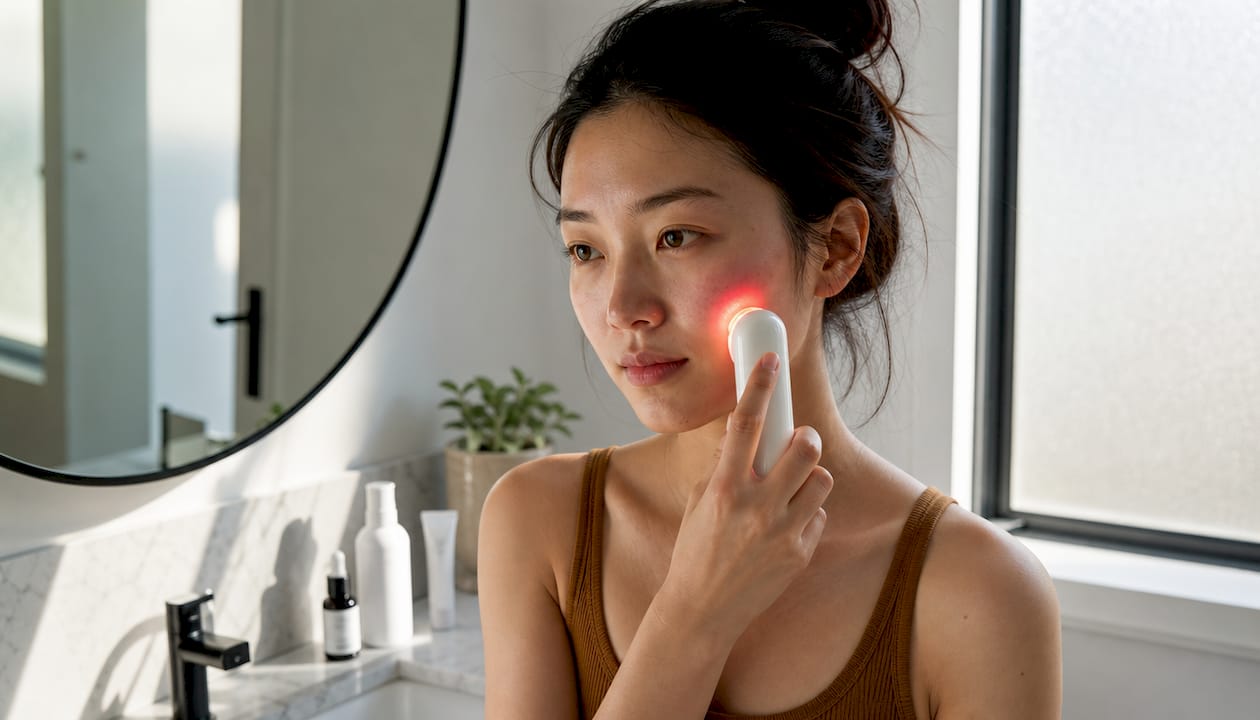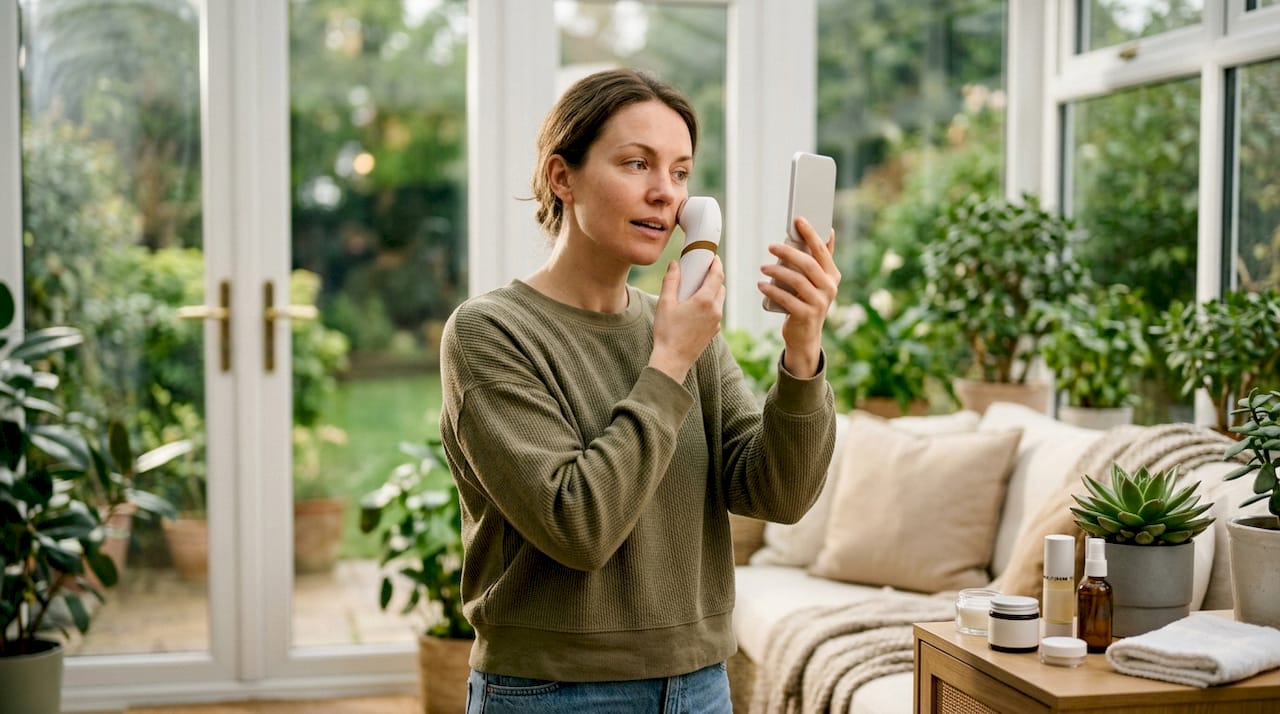
Tracking skincare device progress results is the practice of systematically documenting your skin’s condition through photographs and written logs to objectively measure whether a device is working. Without this structure, you are essentially guessing. The skin cell turnover cycle runs roughly 28 days, which means visible changes take weeks to appear, not days. That biological fact alone explains why so many people abandon devices too early. A consistent tracking method gives you real evidence to work with, and it keeps your expectations grounded in how skin actually behaves.
How to track skincare device progress results: tools you need
The right setup makes the difference between useful data and noise. You do not need expensive equipment, but you do need consistency in what you use each time.
Camera or smartphone. Any modern smartphone camera produces sufficient quality for skin progress photography. The key is using the same device every session, since different cameras render colour and texture differently.
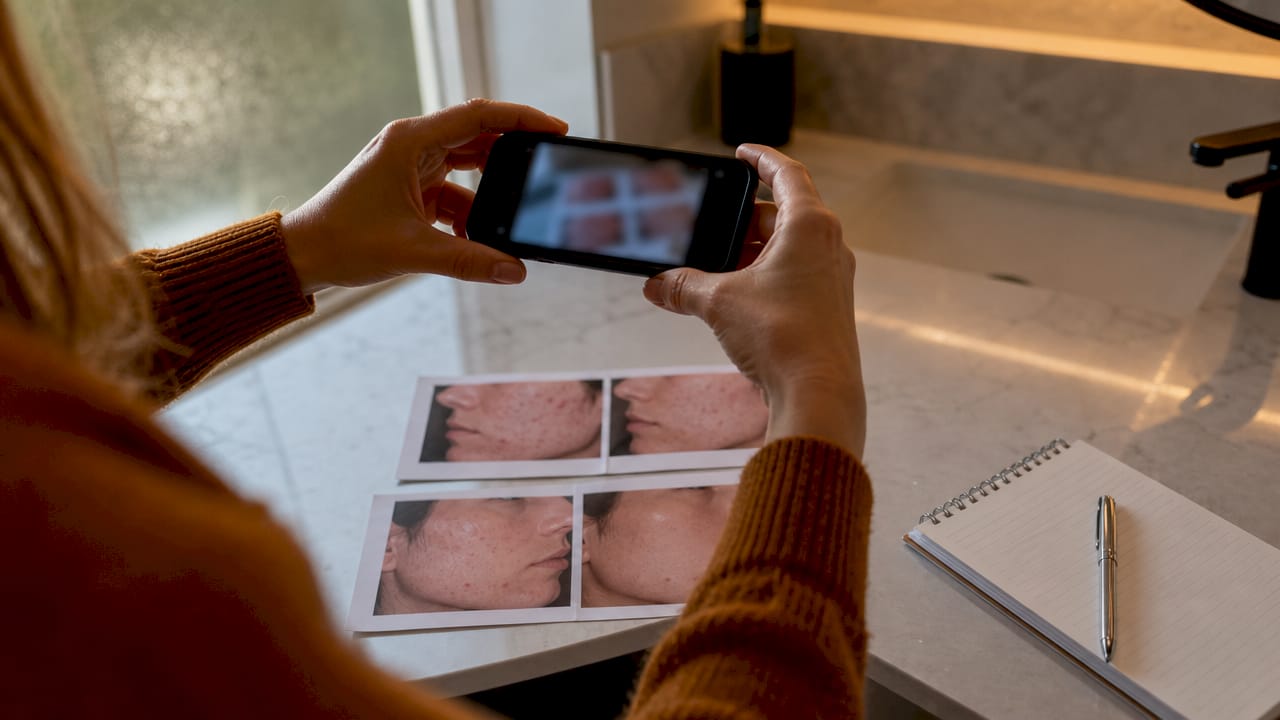
Lighting. Natural, diffused light is the gold standard. Position yourself facing a window on an overcast day, or use a ring light set to a neutral white tone. Avoid direct sunlight, which creates harsh shadows that distort texture readings.
Tracking method. Digital tracking improves adherence and reveals correlations that paper logs miss. A dedicated skin tracking app, a simple notes app, or even a spreadsheet all work well. The format matters less than the habit.
| Method | Pros | Cons |
|---|---|---|
| Smartphone app | Easy photo storage, reminders, pattern analysis | Requires consistent use; some apps cost money |
| Spreadsheet | Fully customisable, free, exportable | No built-in photo comparison |
| Paper journal | No screen required, tactile and personal | Photos must be stored separately; harder to compare |
| Wearable skin sensor | Objective hydration and texture data | Less sensitive at low hydration levels than professional devices |
- Clean, makeup-free skin before every photo session
- Same room, same position, same time of day
- A product log noting what you used and how often
- A simple rating scale for skin feel (1 to 5 works well)
Pro Tip: Set a recurring phone reminder for your tracking sessions. Treating it like an appointment is the single most effective way to maintain consistency over months.
How do you take consistent skin progress photos at home?
Photo consistency is the foundation of reliable device results assessment. A photo taken in different lighting or at a different angle tells you nothing useful when compared to an earlier shot.
Follow these steps every single session:
- Wash your face and wait 15 minutes. Freshly washed skin can appear temporarily flushed or tight, which distorts your baseline.
- Go to the same spot. Choose a fixed location in your home with reliable lighting. Mark your foot position on the floor with tape if needed.
- Set your camera to the same settings. Turn off beauty filters and HDR processing. Use portrait mode only if you use it every time.
- Take three angles. Capture front-facing, left profile, and right profile shots. Skin conditions like fine lines and uneven tone often show more clearly from the side.
- Photograph at the same time of day. Morning is preferable. Skin changes throughout the day due to fluid retention, sun exposure, and product build-up.
- Store photos in a dedicated folder. Name files by date (for example, 2026-04-15) so comparisons are straightforward.
- Review every two weeks. Place two photos side by side using your phone’s native gallery or a free comparison app.
Standardising your room, lighting, and camera position is the single most cited factor in producing reliable skin progress photography. Without it, you cannot distinguish genuine improvement from a change in conditions.
Pro Tip: Take your tracking photos before applying any skincare products. Even a light moisturiser changes how light reflects off the skin, which can make texture appear smoother than it actually is.
Photograph frequency matters too. Every one to two weeks is the right interval. Daily photos create too much noise because day-to-day variation is normal. Monthly photos risk missing the window where early changes first appear.
How to maintain a simple skincare progress log
A log works alongside your photos to capture what your camera cannot. Skin feel, energy levels, sleep quality, and stress all influence how your skin responds to a device. Recording these variables helps you identify patterns that photographs alone cannot explain.
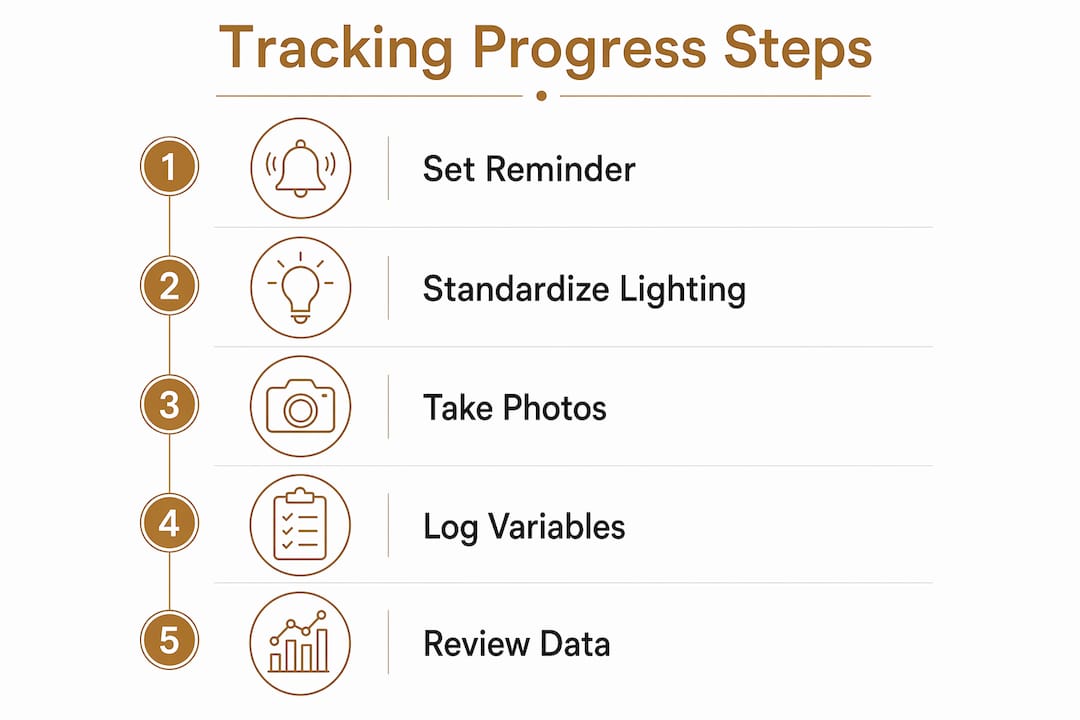
Tracking three simple variables daily maximises long-term adherence and reveals meaningful skin trigger patterns over months. Those three variables are: products used, usage frequency, and a subjective skin feel rating. Anything beyond that tends to become unsustainable within a few weeks.
Key factors to record regularly:
- Device used and session duration
- Skincare products applied (in order)
- Skin feel rating out of 5
- Sleep hours the previous night
- Stress level (low, medium, or high)
- Any notable reactions such as redness or tightness
Two to four weeks of consistent logging is enough to identify high-impact triggers. Three months of data produces confident pattern recognition for subtler influences. That timeline aligns directly with the skin’s own biology.
Pro Tip: Keep your log entry to under two minutes per day. If it takes longer, you will stop doing it. A five-word note is infinitely more useful than a detailed entry you never write.
Synchronise your log with your photos by reviewing both together at each two-week checkpoint. A photo showing improved texture alongside log entries noting consistent device use and good sleep gives you a clear, evidence-based picture of what is working.
How do you interpret your skincare device data and know when to adjust?
Reading your results objectively is where most people struggle. The temptation is to look for dramatic change too soon, or to panic at the first sign of a reaction.
Realistic timelines are non-negotiable. Allow a minimum of 4–8 weeks before drawing conclusions, aligned with the skin’s 28-day turnover cycle. Early improvements in skin feel, such as softness or reduced tightness, often appear before any visible change shows up in photos. That is normal and a positive sign.
Understanding early reactions is critical. Early breakouts or irritation during the first two weeks may signal either a normal adjustment period or an unsafe reaction. The distinction matters. Understanding how skin responds to new products helps you tell the difference between temporary purging and genuine irritation that warrants stopping treatment.
Persistent redness, burning, or pain that does not resolve within 48 hours is a signal to stop using the device and consult a skincare professional. Transient breakouts that clear within a week are more likely an adjustment response. Your log data will show you which pattern is occurring.
When assessing LED photobiomodulation devices specifically, bear in mind that consumer devices deliver lower irradiance than professional systems. Results vary by device quality and treatment adherence. That does not mean home devices are ineffective. A clinical trial using a wearable NIR LED patch recorded a 16.3% improvement in skin roughness after just four weeks. That is a meaningful result, achieved at home, with consistent use.
Key principles for interpreting your data:
- Never change more than one variable at a time. If you switch products and increase device frequency simultaneously, you cannot know which change caused the result.
- Look for trends across multiple data points, not single sessions.
- If results plateau after three months of consistent use, consider adjusting device settings or frequency rather than abandoning the routine entirely.
- Share your photo and log data with a dermatologist or skincare professional if you are unsure. Objective records make professional consultations far more productive.
Key takeaways
Consistent photography, a simple three-variable log, and patience across a minimum 4–8 week window are the three non-negotiable pillars of reliable skincare device progress tracking.
| Point | Details |
|---|---|
| Establish a photo protocol | Use the same lighting, angle, and time of day every session to make comparisons meaningful. |
| Log three variables daily | Record products used, device frequency, and skin feel rating to identify patterns without burnout. |
| Allow 4–8 weeks minimum | Skin cell turnover takes 28 days; visible results need multiple cycles to appear in photos. |
| Distinguish reactions from irritation | Transient breakouts in the first two weeks differ from persistent redness that requires stopping treatment. |
| Change one variable at a time | Altering multiple factors simultaneously makes it impossible to identify what is driving results. |
What I have learned from tracking my own device results
The most common mistake I see is treating the first two weeks as the verdict. People photograph their skin on day three, see no change, and conclude the device does not work. That is not a data-driven decision. That is impatience dressed up as evaluation.
My own approach is deliberately low-effort. I take three photos every Sunday morning before applying anything to my face. I log four things each evening: what I used, how long I used it, how my skin felt, and how well I slept. That is it. I have maintained this for over a year with no gaps, because it takes less than three minutes a day.
The insight that changed everything for me was understanding that skin feel improves before skin looks improve. When I noticed my skin felt less tight and more comfortable within the first two weeks of using an LED therapy device, I almost dismissed it as placebo. My log told me otherwise. The feel improvement was consistent across 12 consecutive days. That gave me the confidence to continue, and the visible improvement followed at week six.
Tracking also protects you from wasting money. If you have three months of consistent data showing no improvement in any metric, you have an objective case for trying a different device or approach. That is far more useful than a vague feeling that something is not working.
— Adam
Glowera’s range of at-home skincare devices for confident progress tracking
Investing in a device is only half the equation. The other half is knowing it is working.
Glowera stocks a curated selection of advanced at-home skincare devices from internationally recognised brands, including microcurrent facial tools and LED light therapy devices, all available with delivery across Saudi Arabia. Each device in the collection is chosen for clinical credibility and home usability, so the results you track are grounded in real technology. Whether you are beginning your first device routine or adding to an existing one, Glowera’s product pages include usage guidance to support consistent, trackable results from day one.
FAQ
How long before I see results from a skincare device?
Allow a minimum of 4–8 weeks before assessing visible results. The skin cell turnover cycle runs approximately 28 days, meaning multiple cycles are needed for changes to appear in photographs.
How often should I take skin progress photos?
Every one to two weeks is the recommended interval. Daily photos introduce too much day-to-day variability, while monthly photos risk missing early changes.
What is the simplest way to log skincare device progress?
Record three variables daily: products used, device usage frequency, and a subjective skin feel rating. This approach sustains long-term adherence better than detailed journalling.
How do I know if my skin is reacting badly to a device?
Persistent redness, burning, or pain lasting more than 48 hours signals that you should stop use and seek professional advice. Transient breakouts clearing within a week are more likely a normal adjustment response.
Do at-home skincare devices produce measurable results?
Yes. A clinical trial using a wearable NIR LED patch recorded a 16.3% improvement in skin roughness after four weeks of consistent use, demonstrating that home devices can deliver measurable outcomes with proper adherence.