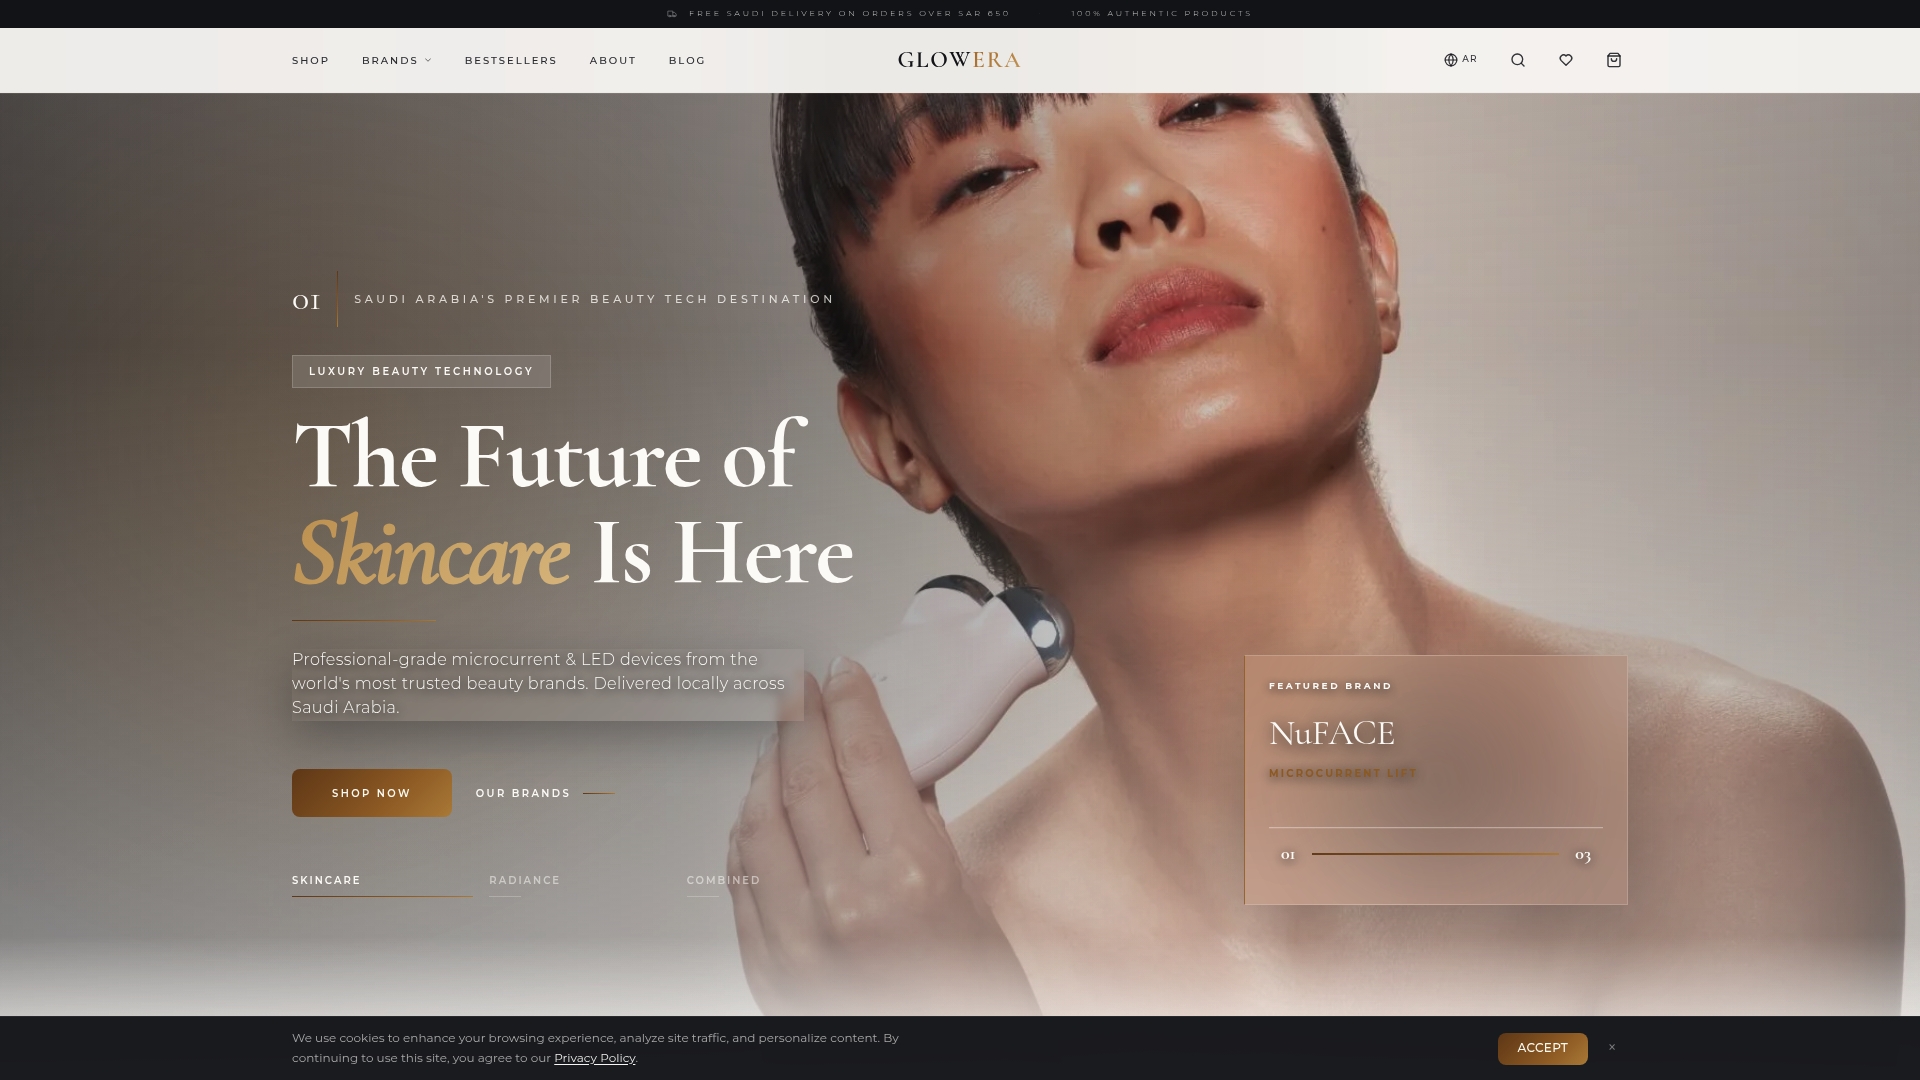
Those unexpected zaps during a microcurrent session are almost never the device’s fault. When you apply conductive gel with a microcurrent device incorrectly, whether too thinly, in the wrong formula, or without proper skin prep, you get discomfort instead of results. The gel is not just a lubricant. It is the medium through which the microcurrent, technically referred to as bioelectric stimulation gel coupling, travels into your skin. Get it right and sessions feel effortless. Get it wrong and you will spend more time flinching than lifting. This guide walks you through every step, from what to buy to how to fix common problems.
Table of Contents
- Key takeaways
- How to apply conductive gel with a microcurrent device
- Getting your skin ready
- Step-by-step gel application technique
- Troubleshooting common gel problems
- What to expect and how often to treat
- My honest take on gel application
- Ready to get started with the right tools?
- FAQ
Key takeaways
| Point | Details |
|---|---|
| Gel is the conductor | Without sufficient, correctly applied gel, microcurrent cannot travel effectively into the skin. |
| Skin prep is non-negotiable | Remove all oils, lotions, and makeup before applying gel to avoid blocking the current. |
| Apply section by section | Cover one area of the face at a time to prevent gel drying out mid-session. |
| Zapping means drying | Sharp sensations signal the gel has dried or is too thin, not that the device is faulty. |
| Consistency builds results | Regular sessions with correct gel technique compound over weeks, not days. |
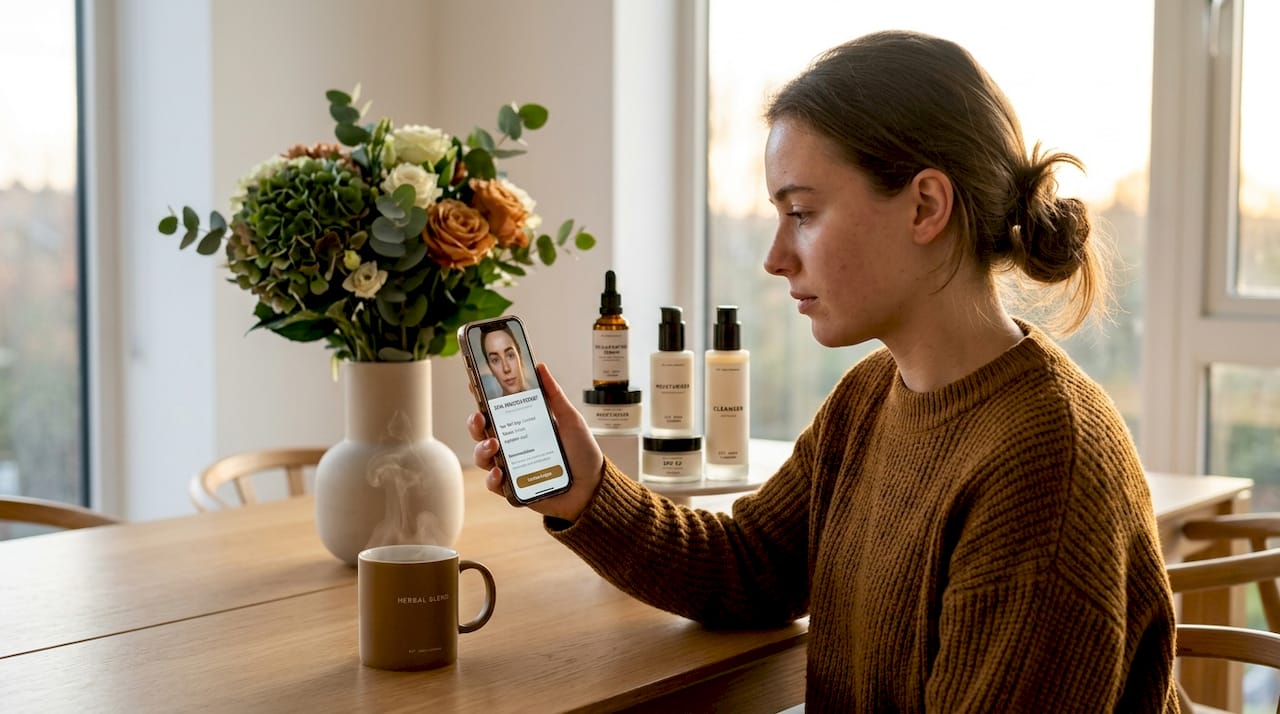
How to apply conductive gel with a microcurrent device
Before touching your device, you need to understand what the gel is actually doing. Conductive gels primarily consist of water and ions that allow electrical current to flow between the device probes and your skin. That is it. The physics are simple. What makes them work is water content and ionic ingredients, not a premium price tag or a brand-specific activator label.
This matters because it changes how you shop. You do not need to buy the exact gel your device manufacturer sells unless the device has unique requirements. What you do need is a water-based, oil-free, conductive gel with enough viscosity to stay put on your face during a session. Hyaluronic acid serums can work for some devices, but thicker formulations are usually more forgiving, especially for beginners. For deeper context on which gels pair well with different technologies, the microcurrent skincare guide from Glowera is worth reading before you start.
Getting your skin ready
The products sitting on your skin before a session will either help or actively block the current. Oils, lotions, and self-tanners block microcurrent conduction and reduce how effectively the current penetrates. This is not a minor issue. A thin film of moisturiser can disrupt conductivity enough to make your session nearly pointless.
Here is what you need before starting:
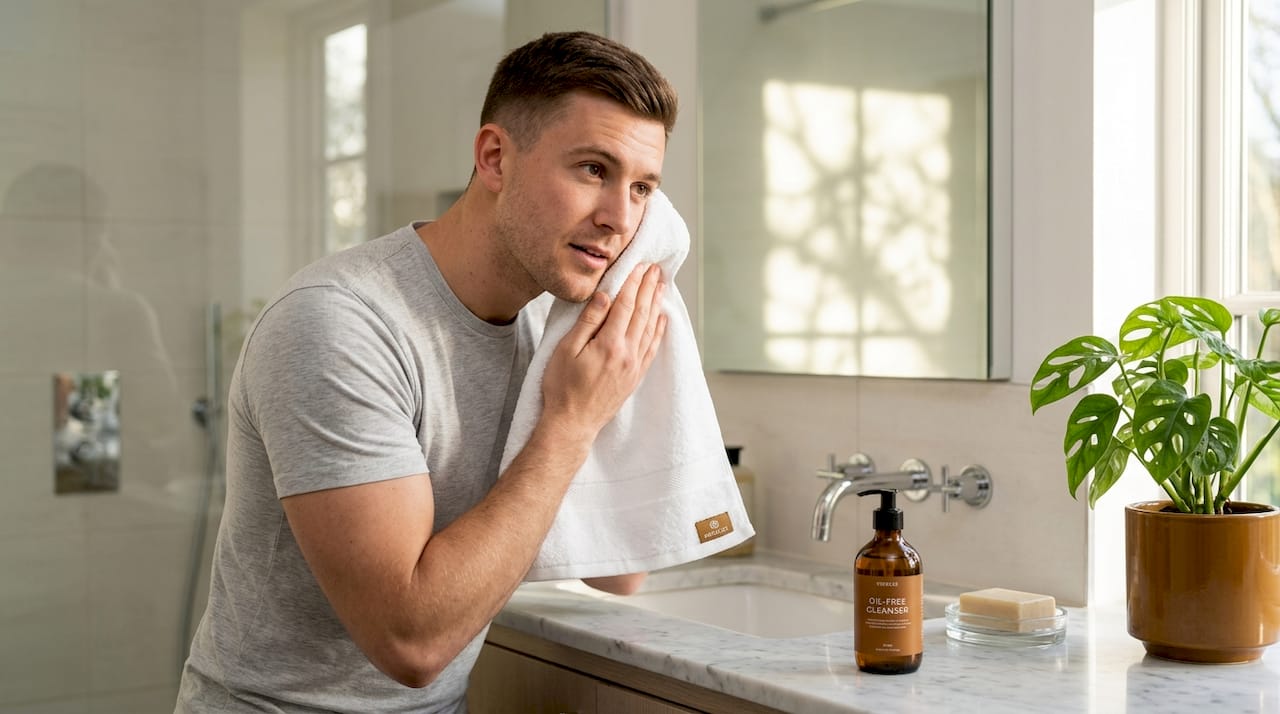
- A gentle, oil-free cleanser and clean water
- A soft towel or facial cloth
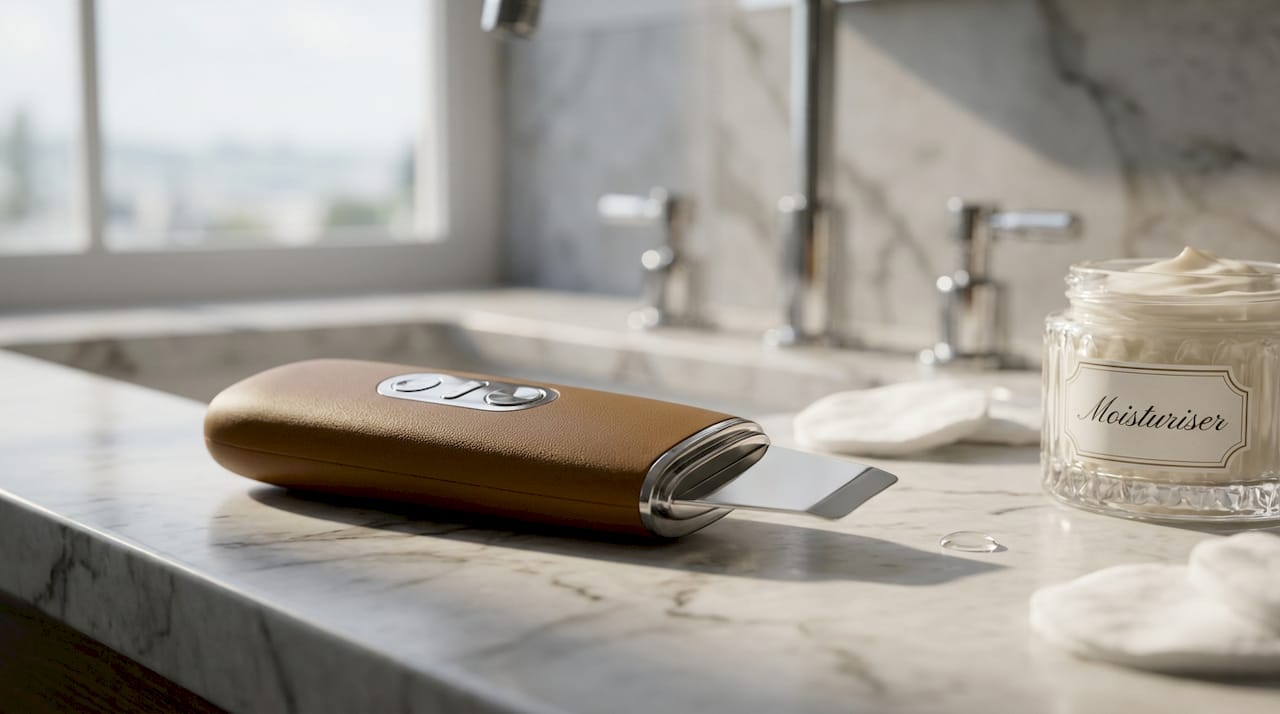
- Your chosen water-based conductive gel
- Your microcurrent device, fully charged
- A mirror with good lighting
- A clean surface or tray to rest the device on
Cleanse your face thoroughly and pat it dry. Leave skin slightly damp rather than completely dry. This small detail actually helps the gel spread more evenly. Do not apply toner, serum, or any product after cleansing. You want the gel to be the only thing sitting between your skin and the device.
Pro Tip: Before your first session with any new gel, apply a small amount on your forearm and wait 15 to 30 minutes to check for reactions. This takes almost no time and can save you from dealing with a reaction mid-session.
| Preparation step | Why it matters |
|---|---|
| Oil-free cleanse | Removes barriers that block microcurrent from reaching deeper skin layers |
| Pat dry, leave slightly damp | Helps gel distribute evenly across the skin surface |
| No post-cleanse products | Prevents interference with electrical conduction |
| Patch test with new gel | Identifies sensitivity or allergy before full facial application |
| Charge device fully | Ensures consistent current output throughout the session |
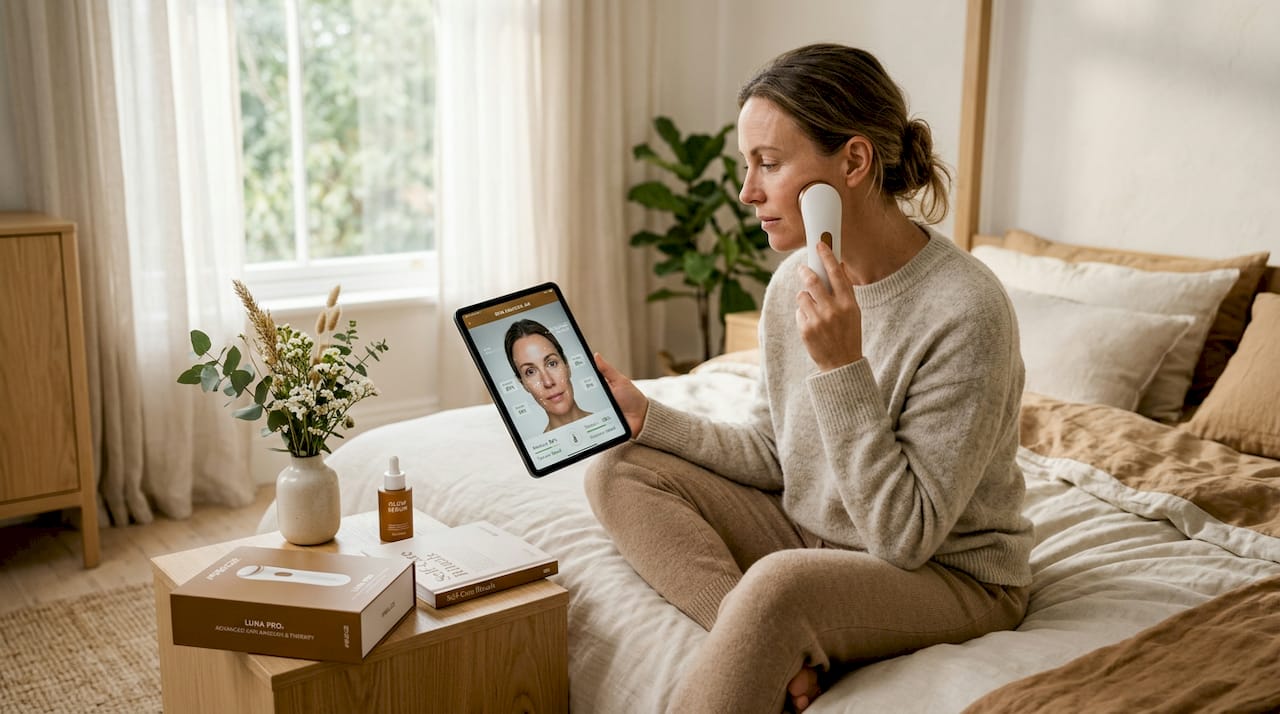
Step-by-step gel application technique
This is where most people go wrong. They squeeze gel into their palm, rub it across their face in one go, and then start moving the device before the gel has properly settled. The result is uneven coverage, dry patches within two minutes, and those sharp sensations that make sessions unpleasant.
The correct approach is section by section. Here is the full process:
- Divide your face into zones. Think forehead, left cheek, right cheek, chin and jaw, and neck. You will apply gel to one zone at a time rather than all at once.
- Apply gel to the first zone. Use enough to create a thin but visible layer, similar to applying a face mask rather than a light serum. The gel should look slightly white or glossy on the skin.
- Begin the device on that zone. Use light to medium pressure and maintain both probes in consistent contact with the skin. Smooth, even pressure keeps both probes in contact and avoids the current jumping or concentrating.
- Move in slow, deliberate strokes. Follow the lifting directions for your device, typically upward and outward from the centre of the face. Do not rush.
- Move to the next zone and apply fresh gel. Do not pre-apply gel to zones you have not reached yet. They will dry out while you work elsewhere.
- Reapply gel whenever resistance increases. If the device starts dragging, squeaking, or you feel any sharpness, apply more gel immediately. Mid-session reapplication is expected and should be part of your routine, not a sign that something went wrong.
- Finish with a light wipe or leave on. Depending on your gel formula, you can either gently remove residue with a damp cloth or leave a leave-on formulation as a hydrating step.
Pro Tip: Keep a small bottle of gel on your vanity within arm’s reach during every session. Reaching into a drawer mid-treatment breaks your rhythm and wastes time.
The total amount of gel you use will likely surprise you at first. Most people underuse by about half. If your sessions regularly last five minutes or more, you should be reapplying at least once.
Troubleshooting common gel problems
When something feels wrong during a microcurrent session, the gel is almost always the place to start. Insufficient or drying gel is the primary cause of zaps and sharp sensations, not the device itself. Understanding which problem you are dealing with helps you fix it fast.
“Zapping during microcurrent is mostly due to too thin, wrong type, or drying gel layers rather than any fault with the device. The solution is almost always more gel, or better gel.” Based on expert guidance from Absonic’s sensitive skin microcurrent research.
Common problems and solutions:
- Sharp zapping sensation. The gel has dried or was applied too thinly. Stop, add more gel to the area, and continue.
- Device dragging or pulling skin. Not enough gel, or the formula is too thin. Switch to a thicker, more viscous gel or apply a more generous layer.
- Redness or irritation after sessions. Possible sensitivity to an ingredient in the gel. Return to your patch test results and consider a hyaluronic acid and aloe-based formula designed for sensitive skin.
- Gel disappearing too quickly. Room temperature, skin type, and gel viscosity all affect how long gel lasts. Use thicker gels or apply in smaller areas more frequently.
- No sensation at all. This can indicate too much gel acting as insulation, very low device intensity, or a conductivity issue. Try reducing gel thickness slightly and checking your device settings.
Gels to avoid completely: anything oil-based, anything containing alcohol (which dries out on contact), and anything described as a “primer” or “serum” that is not specifically formulated for conductive use. Very watery formulas, including some plain aloe gels, lack the viscosity to stay on the face long enough.
For sensitive skin users specifically, thicker gels with soothing ingredients like hyaluronic acid and aloe vera reduce the risk of irritation. And always start at the lowest intensity and increase only once your gel coverage feels stable.
What to expect and how often to treat
Sessions will rarely feel dramatic. A subtle warmth, mild tingling, and a temporary firmer or plumper appearance directly after treatment are normal. The long-term benefits of microcurrent therapy, including improved muscle tone, reduced fine lines, and lifted contours, build over weeks of consistent use. You are not going to see transformation after a single session.
The formula that actually works is straightforward. Frequency matters more than duration. Three to five sessions per week for the first month, followed by a maintenance frequency of two to three sessions weekly, gives your skin’s muscle memory enough stimulus to adapt. Skipping weeks and then cramming in daily sessions does not produce the same result.
What many people overlook is that high-quality leave-on gels offer hydration benefits post-treatment beyond their conductive function. Rather than wiping off all residue immediately, leaving a thin layer can act as a hydrating serum step, which is genuinely useful in a multi-step skincare routine.
Pro Tip: Take a well-lit photograph of one side of your face before your first session, then repeat at four weeks. Changes in skin tone and firmness are gradual enough that you may not notice them day-to-day, but the comparison photo will make them obvious.
As you grow comfortable with the process, you can experiment with slightly longer strokes, higher intensity settings, and different zones. The device and gel should feel like an extension of your skincare routine, not a complex medical procedure. It genuinely becomes second nature within a few sessions.

My honest take on gel application
I have worked with a lot of microcurrent users, and the single most consistent mistake I see is treating gel like moisturiser rather than like a conductive medium. People apply a film and wonder why it dries out in 90 seconds. The penny drops when they start applying a real layer and suddenly their sessions feel completely different.
The other thing I want to be honest about: branded activator gels are often excellent, but they are not magic. Since water and ions carry the current, paying three times the price for a label does not make the session three times more effective. What matters is viscosity, the absence of blocking ingredients, and whether your skin tolerates it well. I have seen people achieve genuinely impressive results with mid-range gels used generously, and poor results with premium gels applied in a thin smear.
My practical recommendation: choose a gel your skin likes, one that stays put and spreads easily, and use it without being stingy. Invest the rest of your budget in a reliable microcurrent device with consistent output. The gel is the supporting actor. Your technique and consistency are what lead.
— Adam
Ready to get started with the right tools?
Knowing how to apply the gel correctly is only half the picture. Having a device and gel combination that actually works together is the other half. At Glowera, the selection has been curated specifically for at-home users who want professional-grade results without guesswork. Every product goes through expert vetting before it appears in the catalogue.
Whether you are looking at your first device or upgrading to something more advanced, the microcurrent device range at Glowera covers everything from compact travel-friendly options to full facial toning systems. For those interested in K-beauty technology specifically, the K-beauty tech collection includes advanced devices paired with compatible conductive gels. Delivery across Saudi Arabia is fast, products are authentic, and the team is available if you have questions about compatibility. You have the technique down. Now it is just about finding the right device.
FAQ
What type of gel works best with a microcurrent device?
Water-based gels with a thick, viscous consistency work best. Oil-free formulations without alcohol are ideal, as oils and alcohol both interfere with conductivity and comfort.
Why do I feel zapping during my microcurrent session?
Zapping almost always means the gel has dried out or was applied too thinly. Add more gel to the affected area and continue, rather than adjusting the device settings first.
How much gel should I use per session?
More than you think. Apply a visible, mask-like layer to one facial zone at a time, and reapply mid-session as needed whenever the device starts dragging or you feel resistance.
Can I use any water-based gel, or does it need to be brand-specific?
The physics of conductivity depend on water and ionic content, not brand name. A quality water-based gel without oils or alcohol will conduct current effectively regardless of label.
How soon will I see results from regular microcurrent treatment?
Visible improvements in firmness and contour typically appear after three to four weeks of consistent sessions. Results continue to develop with ongoing maintenance use.